We will try to keep things as simple as possible and we will create only one Document Type for our pages. We will need one more Document Type which will be the language in our URL.
Let’s start by creating the Document Type for the language. We go right click the Document Types node from the Settings section in order to display the Document Type commands.
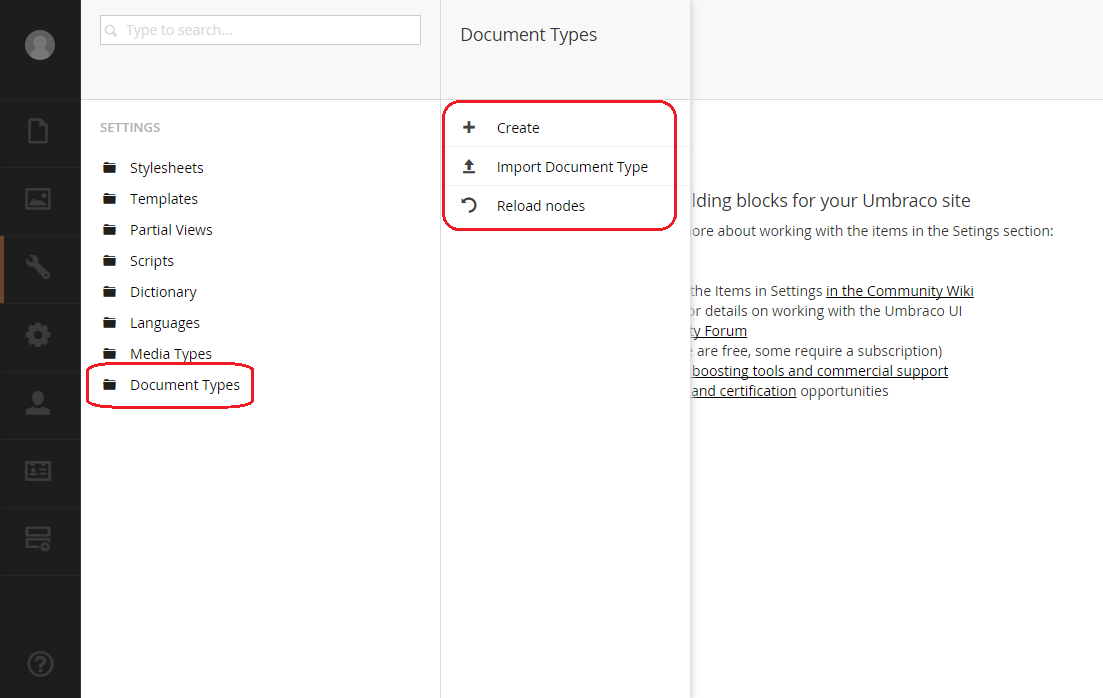
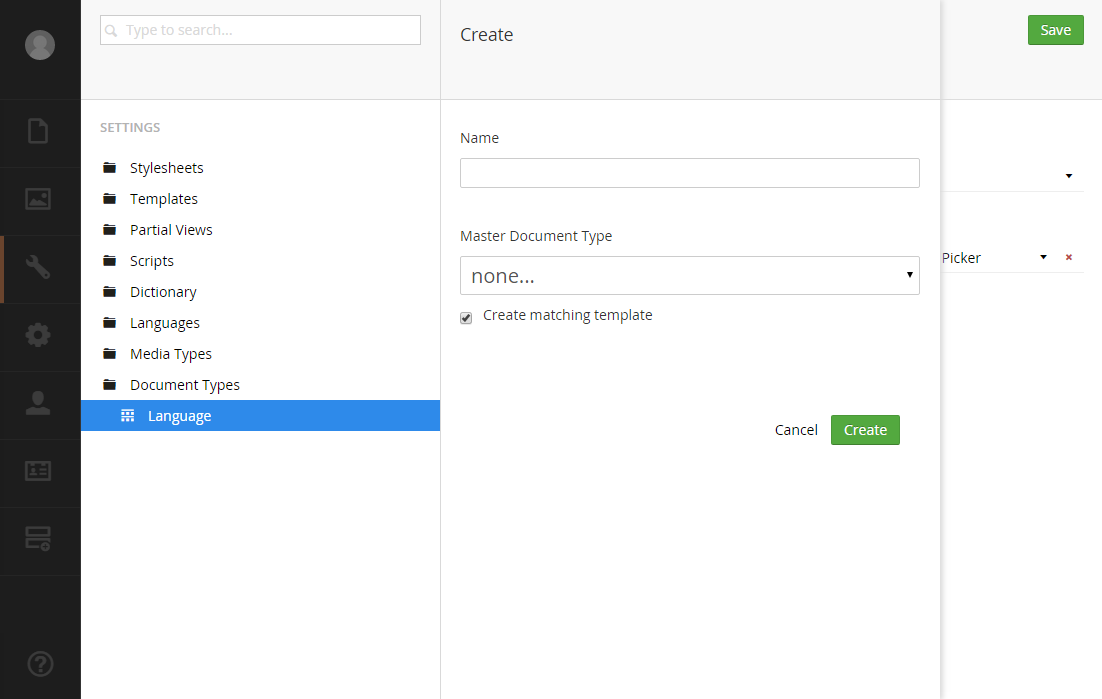
We click the Create command and the Create Document Type form will appear on the screen.
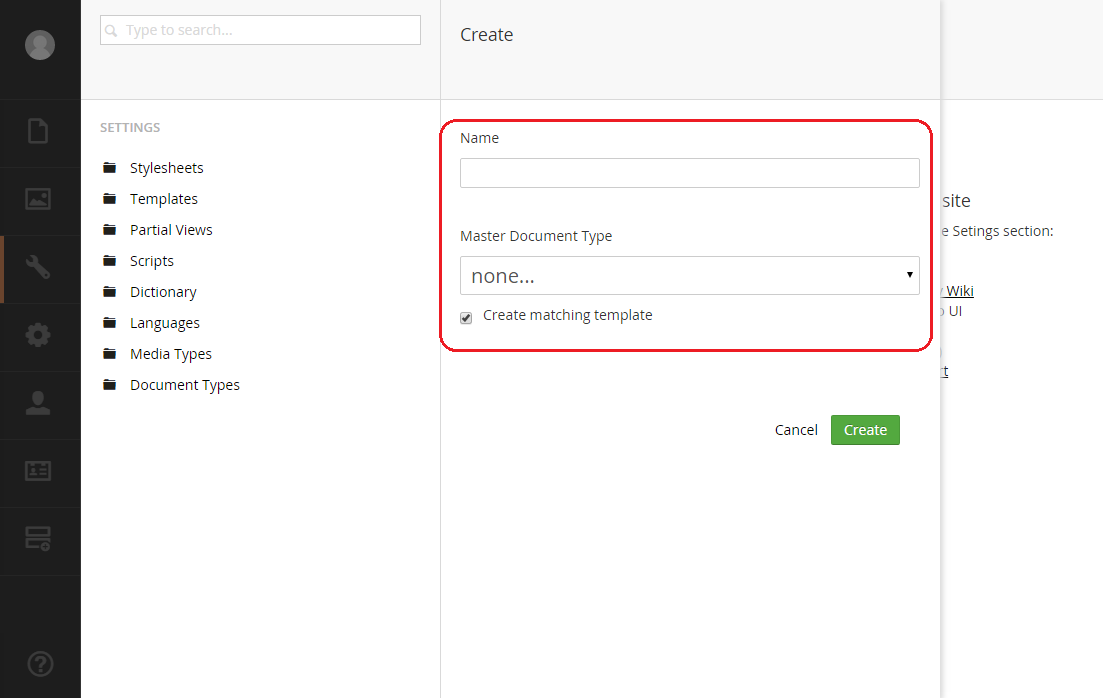
In the Name text box we type the name of the Document type. For our example we use the name Language. Because we do not want to have contents for the language we disable the "Create matching template" checkbox.
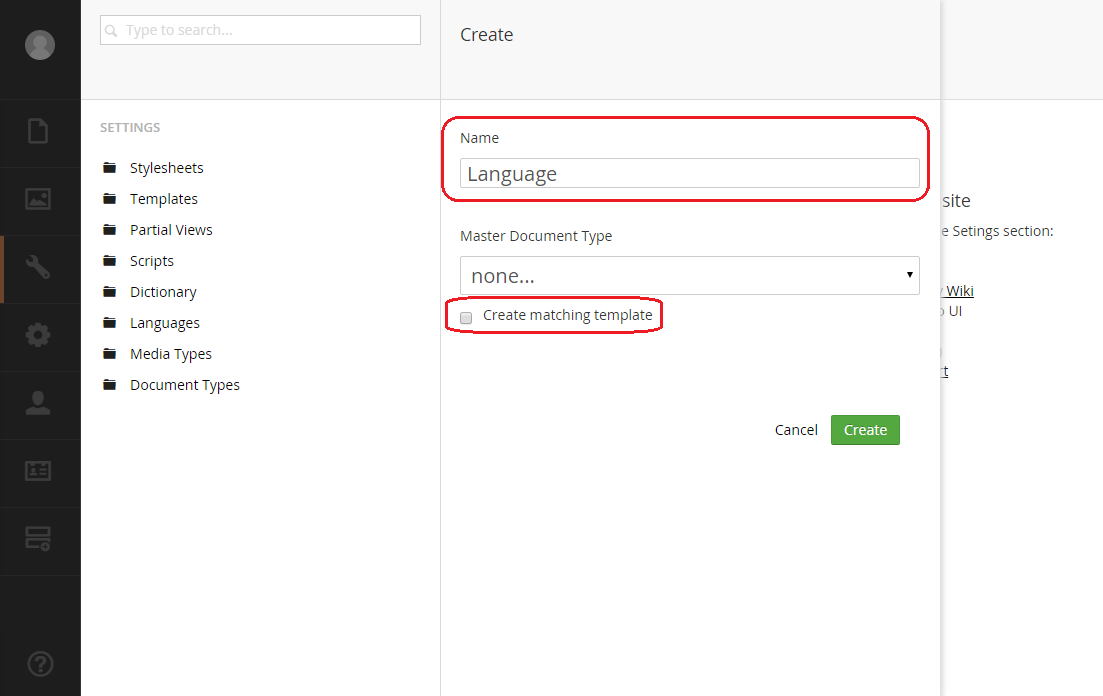
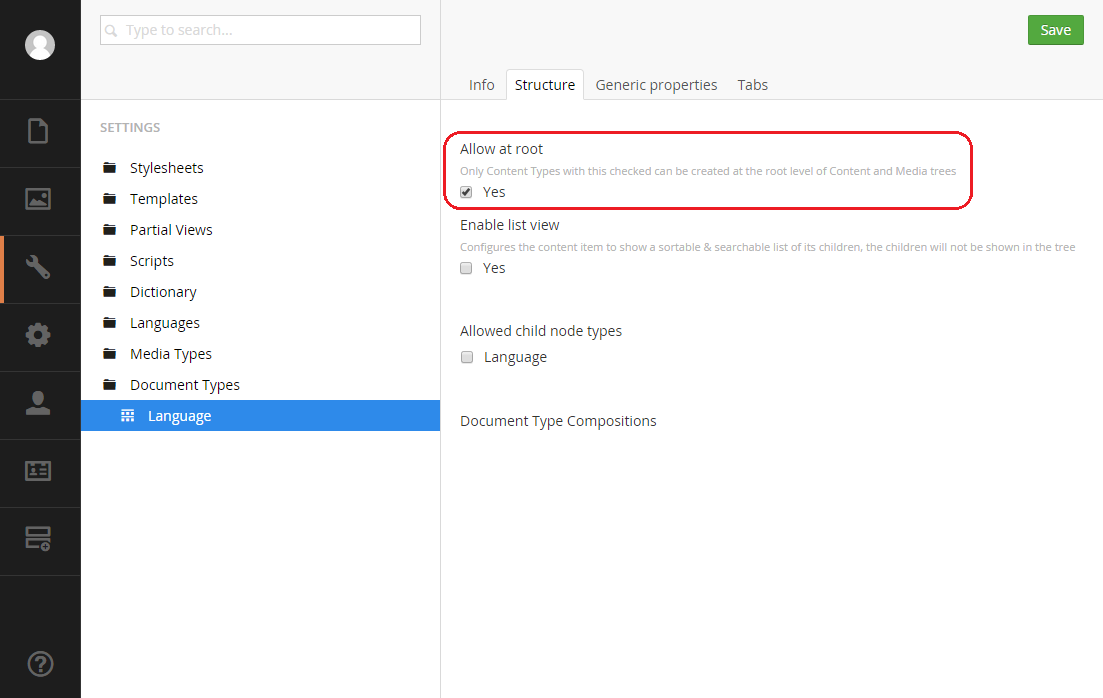
When we are ready we click the Create button and the new Document type will be created. We go to the Structure tab and we check the "Allow at root" checkbox so that we will let the administrator of the site to be able to add the language in the root node of the site.
Now we have to define a special hidden property which will allow us define a node which will be used when the user try to view the language node. For example if the visitor of the web site visits the following url:
http://www.domain.com/en
We want the Umbraco to load a different URL which could be the home page of the site in the English language. This means that the URL that Umbraco will load has to be:
http://www.domain.com/en/home
In order to achieve it we add one property which will have the alias name umbracoInternalRedirectId and the type of the property will be Content Picker.

When we finish we click the Save button which is located at the upper right corner of the screen.
Let’s create one more Document type which will be used for the pages of the web site. We right click on the "Document Types" node and from the list of commands we click the Create command.
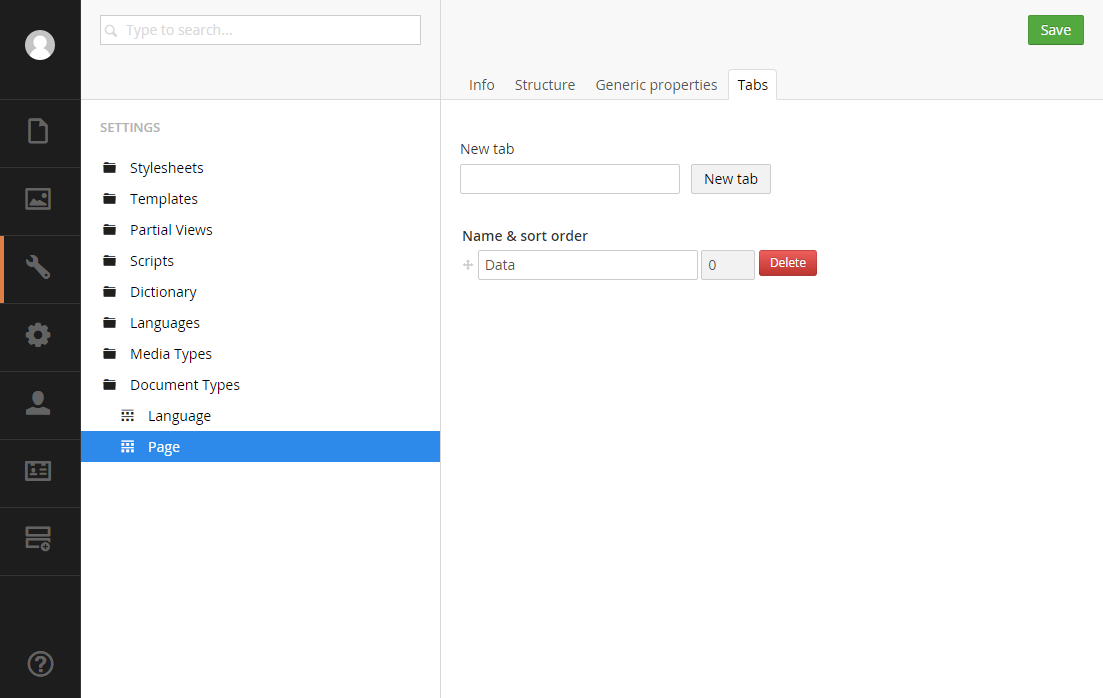
We set the name of the Document type to be equal to Page and we click the Create button.
We go to the Tabs tab and we create a new Tab called Data for our properties.
Now we go to the General properties tab and we add the following properties in the Data tab.
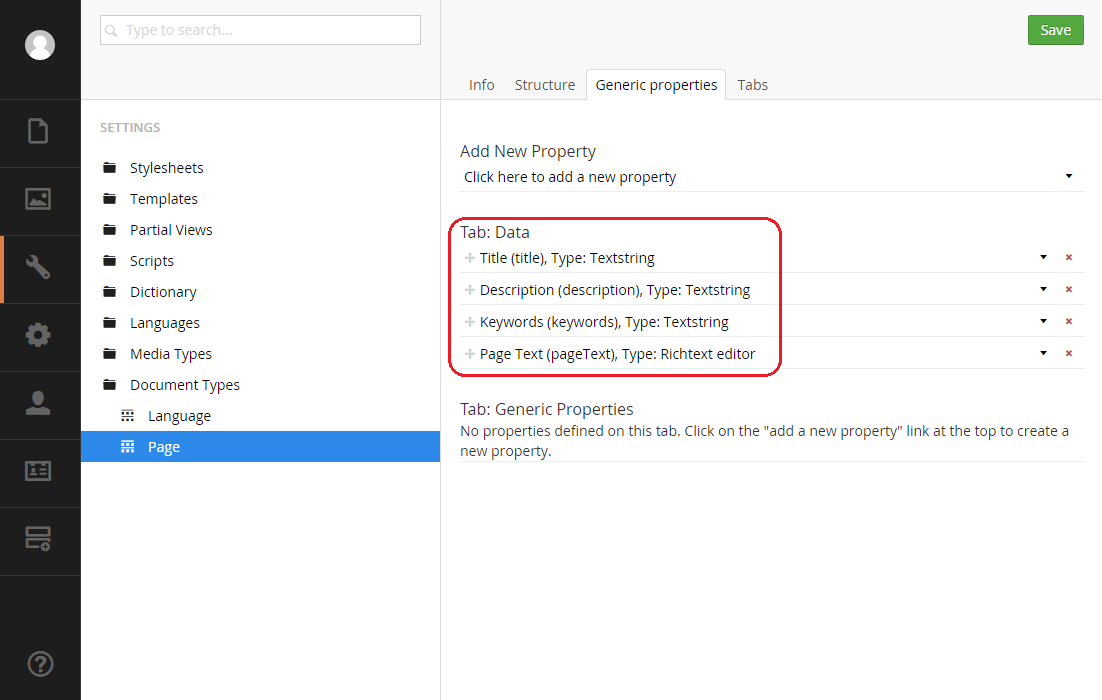
The Title, Description and Keywords are going to be used for the SEO in the header of each page. All of them are of type Textstring. The Page Text property is going to contain the text that we will display on each page and we selected the type Richtext editor. When we finish we click the Save button.
We created the two document types that we need but we have to do a final change to the Language Document Type. We open it and we go to the Structure tab. We have to check the Page checkbox in the "Allowed child node types" area so that we will be able to add pages in each Language node.
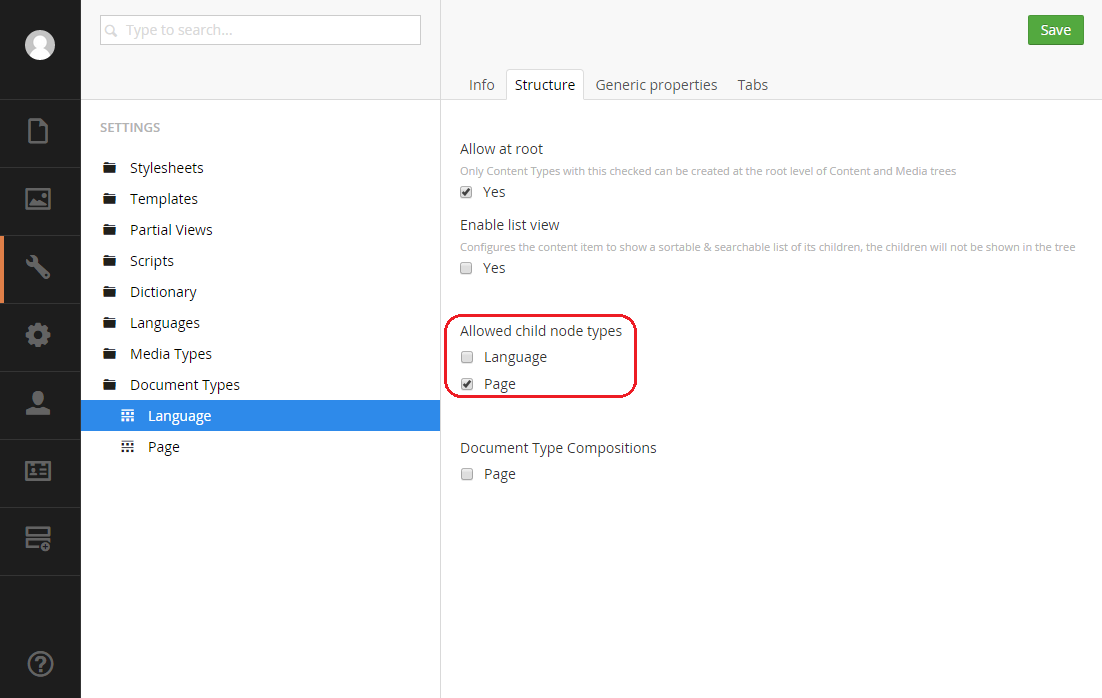
We click on the Save button which is located at the upper right corner of the screen in order to save the changes.
